10 Nail Art Techniques to Wow Your Clients
Wow your clients with these impressive nail art techniques. From basic designs to advanced 3D art, learn tips, tools, and trends to master the craft.
Wow your clients with these impressive nail art techniques. From basic designs to advanced 3D art, learn tips, tools, and trends to master the craft.


Summary
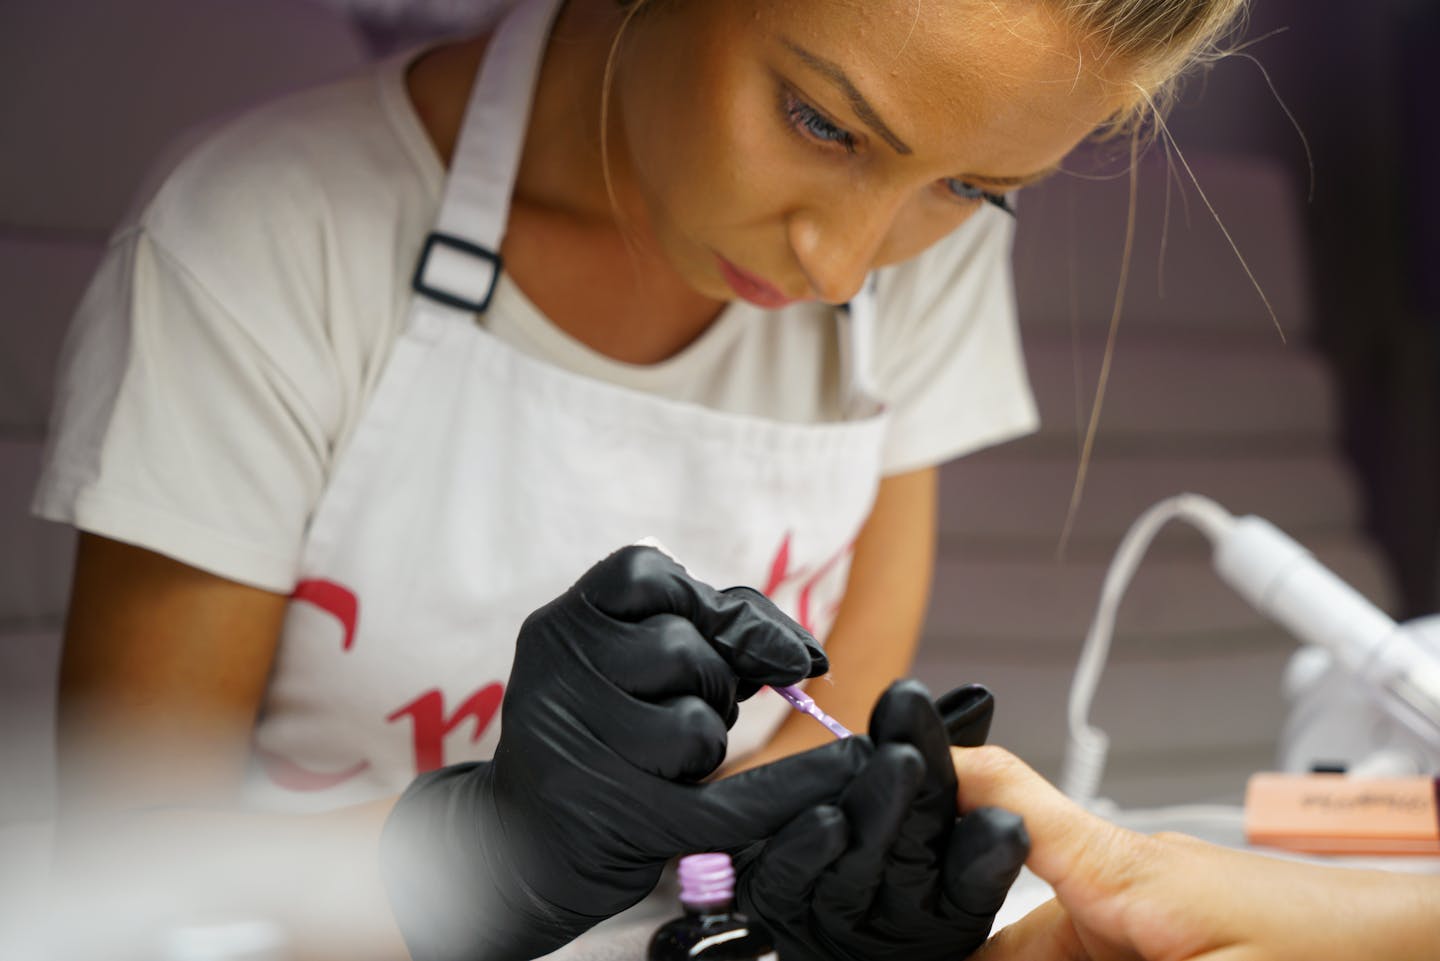
Clients today are searching for more than just a plain mani. New trends are constantly emerging, and clients are willing to pay for creativity and skill. This guide will introduce you to the growing buzz around nail art, break down key techniques for every skill level, and walk you through must-have tools and foolproof nail art tips for elevating your artistry.
What Is Nail Art?
First and foremost, what is nail art? To put it simply, nail art is the practice of painting and decorating nails with intricate designs or embellishments. On the surface, that sounds simple enough, but here’s the twist: nail art is only limited by your imagination.
It ranges from basic techniques like smooth, single-color applications to jaw-dropping 3D creations. And plenty of clients are after unique, Instagram-worthy designs that show off their style. From bold marbling to intricate embellishments, nail art has transformed the beauty industry.
But whether your clients want an understated classic look or bold, boundary-pushing designs, nail art allows you to create something uniquely tailored to their style.
The best part? Nail art isn’t just pretty to look at, but can easily serve as your ticket to standing out. Your designs are a conversation starter, a social media magnet, and, most importantly, your secret weapon for fostering loyal clients for the long haul.
Nail Art Techniques For Your Salon
The beauty of nail art is that there’s something for everyone, which makes it a golden opportunity to increase your income and expand your business. And offering these services or leveling up your current skills is a surefire way to get noticed in a competitive market. Whether you’re hitting the ground running with basic designs or pushing your limits with advanced techniques, the key is mastering your craft one step at a time.
Let’s break it down with some unique techniques, categorized by skill level.
Basic nail art techniques
When you're starting out, knowing these basics will give you the confidence to pull off clean, beautiful designs your clients will love.
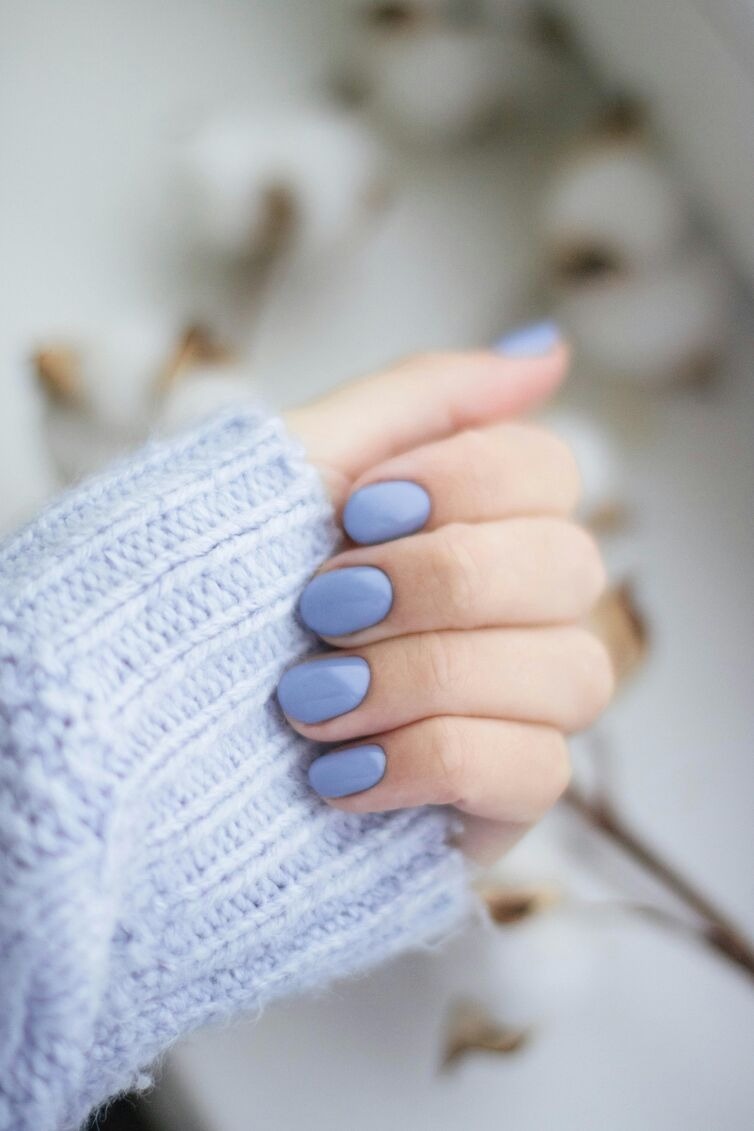
1. Solid color application
Think of this as your foundation. Applying nail polish smoothly and evenly is the bread and butter of nail artistry. The key here is steady hands and a good-quality polish. A flawless, single-layer look can speak volumes about your precision and professionalism.
2. Dotting
Dotting is as simple as it gets, but don’t underestimate its potential. Using a dotting tool (or even a toothpick), you can create adorable patterns like polka dots, hearts, spirals, or tiny flowers. It’s perfect for clients who want their nails to be subtle yet fun.

3. Accent nails
Highlight one or two fingers with a little extra flair. Whether it’s glitter, a pop of color, or mild patterns, accent nails are a beginner-friendly way to ease into more decorative styles.

Intermediate nail art techniques
Once you’re feeling more comfortable, these techniques will level up your nail game and leave your clients awestruck.
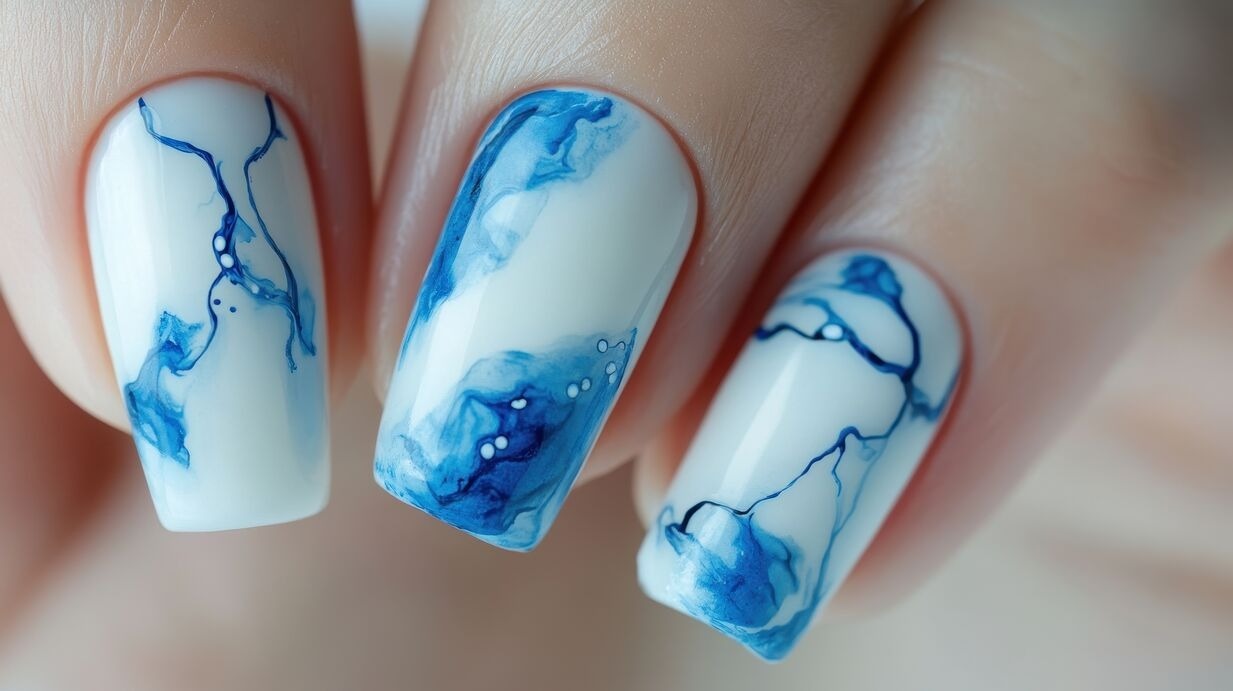
4. Marbling
This swirled design creates a dreamy effect by blending colors together. The easiest way? Add drops of polish to a bowl of water, swirl them around, and dip the nail right into the design. It’s a little messy but oh-so-worth it.
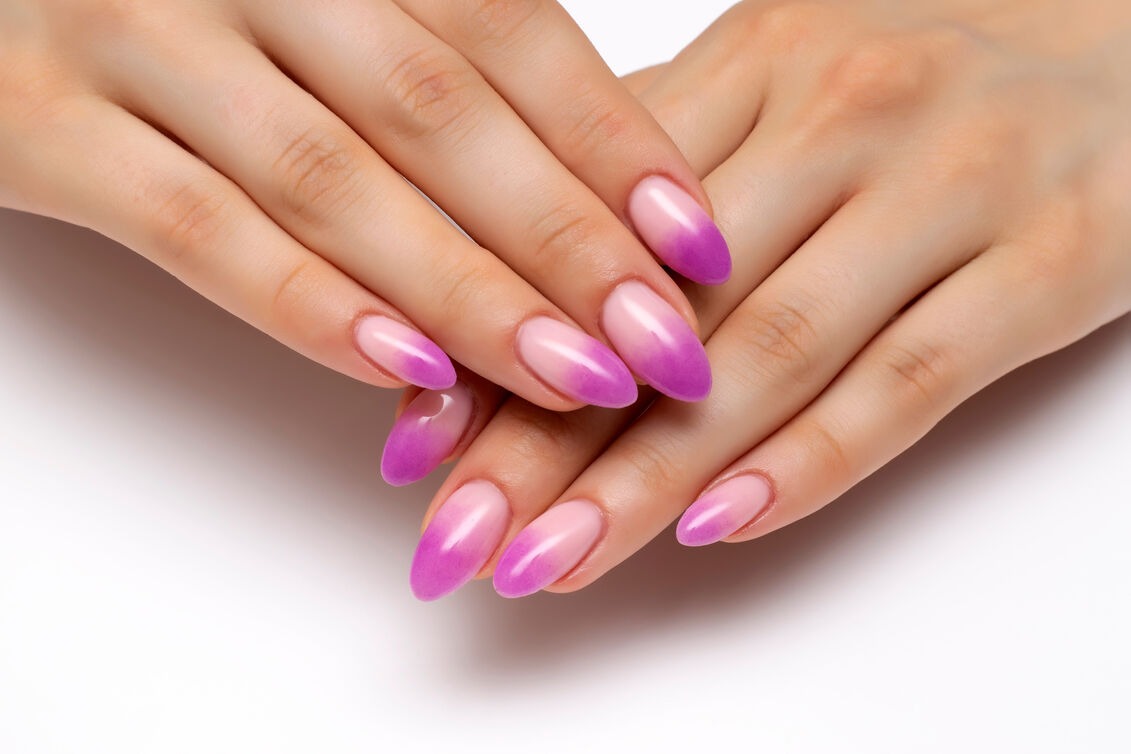
5. Ombre
Create a gradient design that transitions seamlessly from one color to another. All you need is a makeup sponge and some patience! Ombre nails are incredibly trendy and impressive, especially when paired with bold color combos.
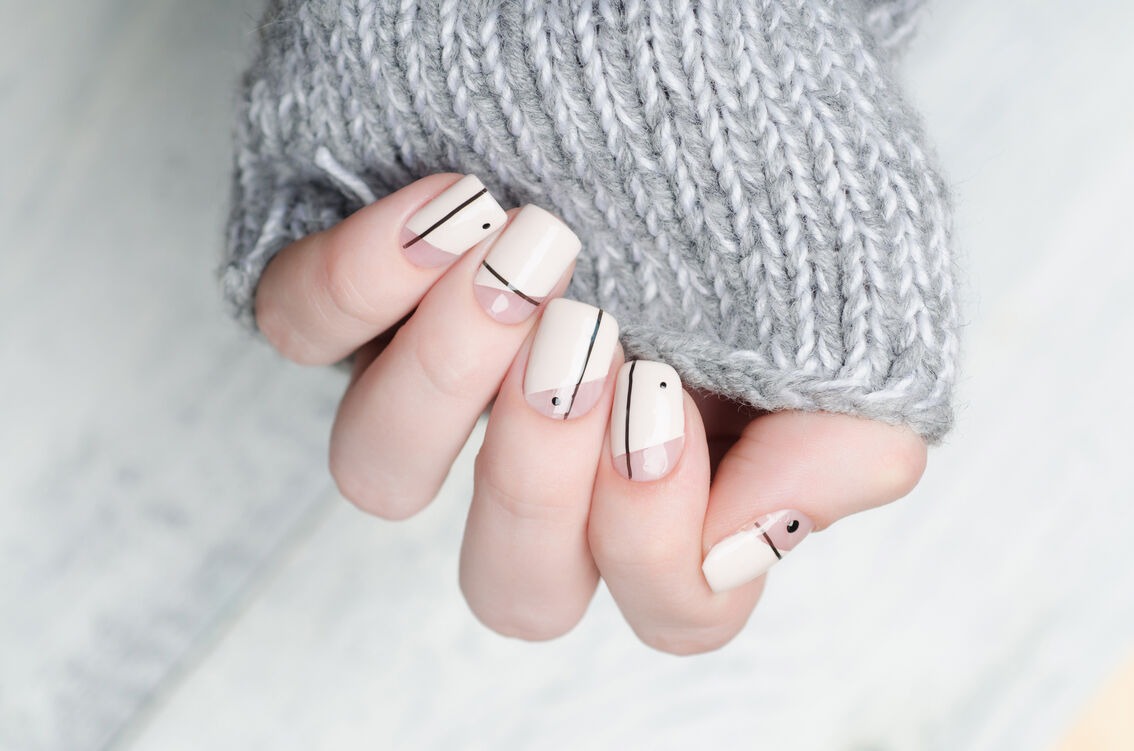
6. Striping
Using nail striping tape, you can create clean lines and geometric patterns. Pair this with contrasting colors like black and gold for an edgy, modern effect.
Advanced nail art techniques
These techniques require practice but result in show-stopping designs your clients will absolutely rave about.
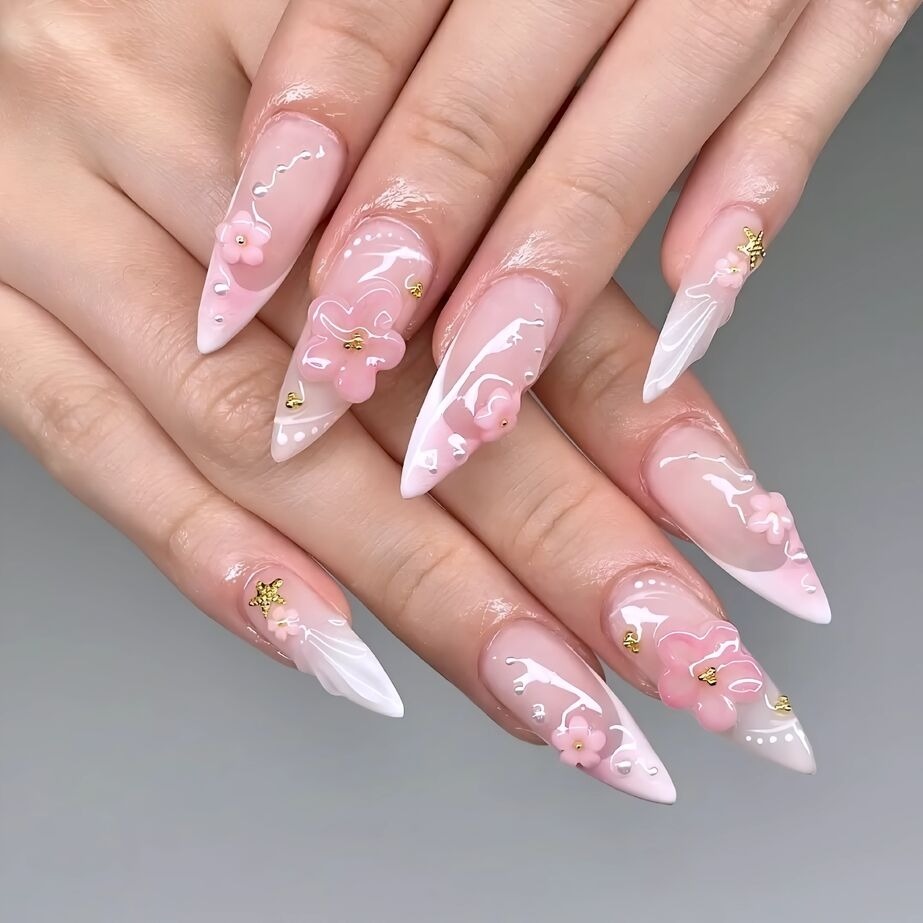
7. 3D nail art
Think raised florals, gems, and sculpted designs. With acrylic or gel, you can create intricate, raised embellishments that add texture and dimension. Feeling limited by a flat canvas? This is your ultimate playground.
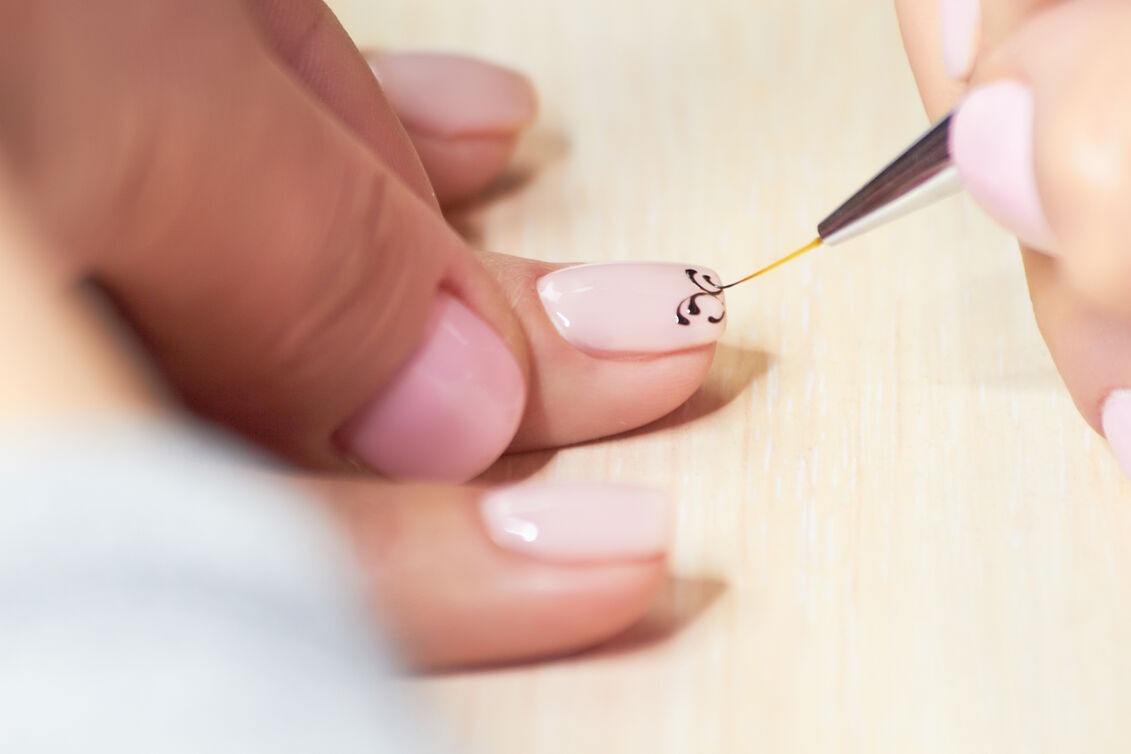
8. Micro painting
Precision is your best friend in micro painting. Armed with ultra-thin brushes, you can paint miniature scenes, logos, or intricate details worthy of close-up shots. It’s a skill that takes patience and a steady hand, but the results are unforgettable.
9. Foil applications
This involves applying metallic or holographic foils onto nails for a dramatic, reflective finish. Paint glue or gel as the base, apply the foil, and seal it with a topcoat for nails with serious shine.
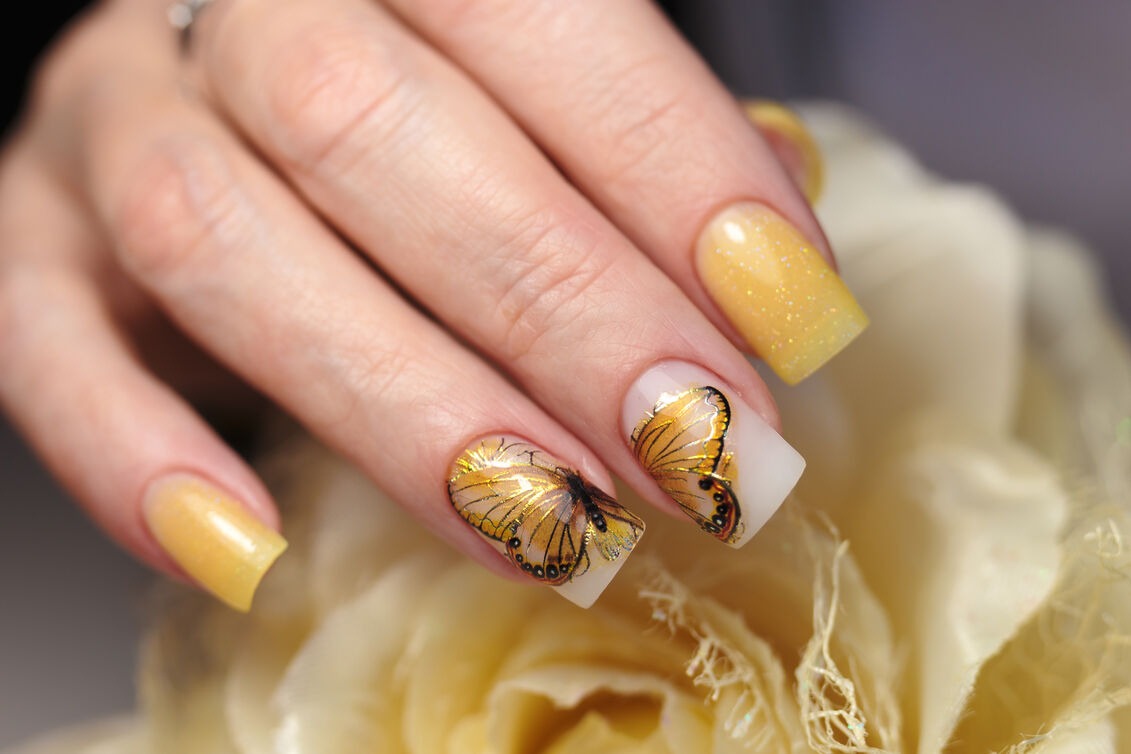
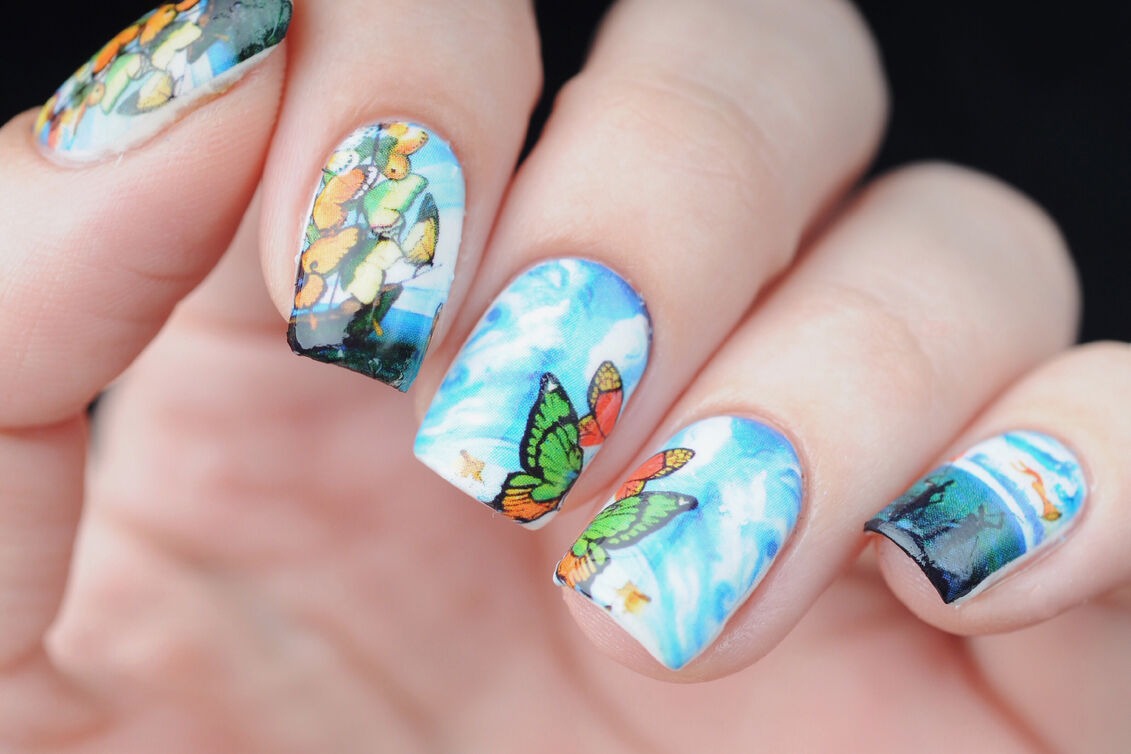
10. Freehand designs
It doesn’t get more creative than this. Freehand designs might be anything from abstract swirls to cartoon characters. This is where your artistic flair truly shines.
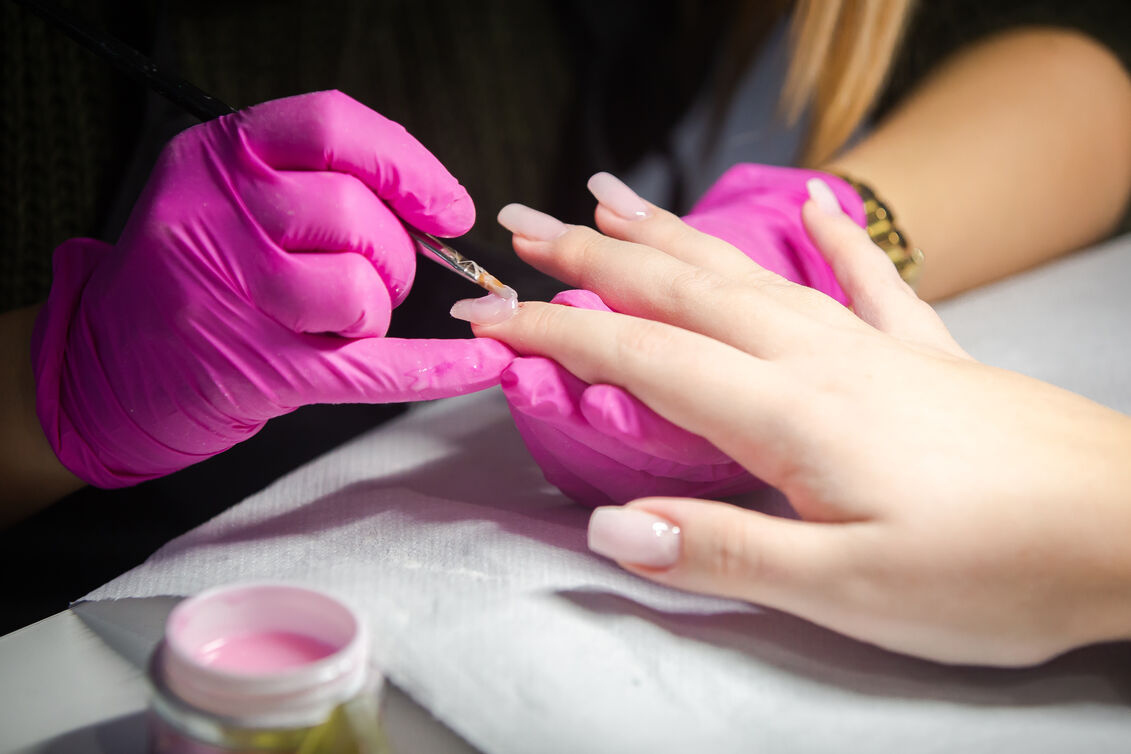
What Tools Do You Need to Do Nail Art?
To create these knockout designs, you’ll need a well-stocked toolkit. High-quality tools and supplies can make all the difference in bringing your ideas to life. Here are the essentials:
1. Nail art brushes
Brushes are basically the magic wands of the nail world. Thin liner brushes help you draw crisp, delicate lines and outlines, while ultra-fine detail brushes are perfect for painting tiny flowers, intricate lace, or any mini masterpiece you can imagine. Flat and fan brushes excel at sweeping on base color or helping you create gorgeous ombre fades.
Clean-up brushes, generally angled, erase those accidental polish slips near the cuticle for a super clean finish. When cared for properly (yup, that means regular cleaning!), your brushes can give you years of smooth, consistent results.
2. Dotting tools
Dotting tools are humble heroes that do so much more than dots. Yes, you’ll use them for perfect polka dots, but they also help you create juicy cherry blossoms, multi-size animal prints, crisp smiley faces, and more. Dual-ended or multi-tip sets allow you to vary spot sizes for added dimension.
Pro tip: If you’re just getting started, the end of a bobby pin or a toothpick can fill in until you invest in a full set.
3. Sponges
Sponges are essential for gradient or ombre effects, a top-request service for good reason. They make blending two or more colors look seamless (hello, sunset nails!). Makeup wedge sponges work well, or you can snip art sponges into smaller pieces for full creative control.
Sponges are also super helpful for achieving a soft-focus, watercolor look or dabbing on glitter without getting it everywhere.
4. Nail art tape
This ultra-thin, sticky tape lets you instantly upgrade nails with geometric shapes, modern negative-space looks, ultra-crisp French tips, and more.
Lay it on before the polish for easy striping, use it to section off patterns, or leave it on as an accent itself. As a bonus, remember that metallic and colored tapes add extra glam without extra work!
5. UV/LED lamp
For gels, builder gels, or securing 3D charms, a good UV/LED lamp is a non-negotiable. It hardens (cures) special nail products fast, so you can layer without worrying about smudges or dents.
Look for lamps with multiple timer settings and enough space for a whole hand. A quality lamp saves you time, prevents chips, and boosts your professional image.
[CTA_MODULE]
Tips To Master Your Nail Art Game Effortlessly
Even the most talented nail techs understand that improvement never stops. These nail art tips will help you polish your skills (pun intended) and set you apart as a go-to artist in your area.
1. Experiment often
The more you play around, the more confident you’ll become. Try new color combos, funky patterns, or mix-and-match techniques to develop your unique style. Carve out time each week for creative play. You may want to set up a practice board or use press-on tips to experiment without the pressure of client appointments.
Don’t be afraid to step out of your comfort zone; some of the most iconic nail looks are born from happy accidents!
2. Invest in quality
Cheap tools and products can make nail art harder than it needs to be. Save yourself the trouble and invest in items that deliver precision and long-lasting finishes. High-quality brushes will give you smoother lines, and professional-grade polish or gel will ensure your designs last and shine.
Consider buying one or two new premium products a month, gradually upgrading your kit until it’s filled with tried-and-true favorites.
3. Learn from the pros
Follow nail artists on social media, attend workshops, and watch tutorials to stay inspired. You’d be surprised what a single design idea can spark in your own creativity. Join online forums or local groups where you can swap ideas, ask questions, or even share challenges.
Many nail businesses are willing to share their insights, so don’t hesitate to reach out for advice or feedback.
4. Keep an eye on trends
Nail art trends shift faster than you might expect. Staying ahead of what’s hot will keep you relevant and your clients excited. Think seasonally, explore popular color palettes, and experiment with different nail techniques.
Use platforms like Instagram, Pinterest, and TikTok for daily inspiration and trend alerts. Ask your clients what they’re seeing and loving. After all, sometimes, your next big idea comes straight from the salon chair!
Finally, remember that perfecting your nail art is a journey, not a sprint. Celebrate your progress and don’t get discouraged by mistakes. They’re stepping stones to mastery. The more curious and committed you are, the more your skills (and business) will flourish.
Grow Your Nail Salon With GlossGenius
Mastering nail art techniques is just the beginning. Whether you’re fresh out of beauty school or already running your own hustle, you need tools to manage the business side of things just as beautifully. That’s where GlossGenius comes in.
GlossGenius is an all-in-one platform tailored for business owners like you. It simplifies your business operations so you can breeze through appointment bookings, build a custom website, manage payments, and market your services, all from the palm of your hand.
Bonus? You’ll wow your clients not just with your nail art but also with a smooth, professional experience from start to finish.
Your next step? Level up your nail art game and give yourself the tools to run a killer business. Test out GlossGenius with a free trial today—you’ve got everything to gain and nothing to lose.
Now it’s time to grab your brushes, switch on your UV lamp, and start creating moments your clients will never forget.
[CTA_MODULE]
FAQs
What are the basic techniques used in nail art?
Basic nail art techniques include solid color application, dotting, striping, accent nails, and simple freehand designs. These foundational skills let you create clean and attractive looks that serve as a starting point for more advanced designs.
What are the 5 basic nail designs?
The five basic nail designs are solid color, French tips, polka dots, stripes, and accent nails (where one or two nails are decorated differently than the rest).
What is the new nail technique?
One of the newest and different nail techniques gaining popularity is 3D nail art, where acrylics or builder gels are used to sculpt raised designs, gems, or textures on the nail for added dimension and artistry.
What is the 3D nail art technique?
3D nail art involves applying acrylics, gels, or embellishments to the nail surface to create designs that stand out. This includes sculpted flowers, gems, and shapes that add texture and drama beyond what’s possible with flat polish.
.png)
Join Our Genius Newsletter
Get the latest articles, inspiring how-to’s, and educational workbooks delivered to your inbox.
10 Nail Art Techniques to Wow Your Clients
Wow your clients with these impressive nail art techniques. From basic designs to advanced 3D art, learn tips, tools, and trends to master the craft.
Summary
Clients today are searching for more than just a plain mani. New trends are constantly emerging, and clients are willing to pay for creativity and skill. This guide will introduce you to the growing buzz around nail art, break down key techniques for every skill level, and walk you through must-have tools and foolproof nail art tips for elevating your artistry.
What Is Nail Art?
First and foremost, what is nail art? To put it simply, nail art is the practice of painting and decorating nails with intricate designs or embellishments. On the surface, that sounds simple enough, but here’s the twist: nail art is only limited by your imagination.
It ranges from basic techniques like smooth, single-color applications to jaw-dropping 3D creations. And plenty of clients are after unique, Instagram-worthy designs that show off their style. From bold marbling to intricate embellishments, nail art has transformed the beauty industry.
But whether your clients want an understated classic look or bold, boundary-pushing designs, nail art allows you to create something uniquely tailored to their style.
The best part? Nail art isn’t just pretty to look at, but can easily serve as your ticket to standing out. Your designs are a conversation starter, a social media magnet, and, most importantly, your secret weapon for fostering loyal clients for the long haul.
Nail Art Techniques For Your Salon
The beauty of nail art is that there’s something for everyone, which makes it a golden opportunity to increase your income and expand your business. And offering these services or leveling up your current skills is a surefire way to get noticed in a competitive market. Whether you’re hitting the ground running with basic designs or pushing your limits with advanced techniques, the key is mastering your craft one step at a time.
Let’s break it down with some unique techniques, categorized by skill level.
Basic nail art techniques
When you're starting out, knowing these basics will give you the confidence to pull off clean, beautiful designs your clients will love.
1. Solid color application
Think of this as your foundation. Applying nail polish smoothly and evenly is the bread and butter of nail artistry. The key here is steady hands and a good-quality polish. A flawless, single-layer look can speak volumes about your precision and professionalism.
2. Dotting
Dotting is as simple as it gets, but don’t underestimate its potential. Using a dotting tool (or even a toothpick), you can create adorable patterns like polka dots, hearts, spirals, or tiny flowers. It’s perfect for clients who want their nails to be subtle yet fun.
3. Accent nails
Highlight one or two fingers with a little extra flair. Whether it’s glitter, a pop of color, or mild patterns, accent nails are a beginner-friendly way to ease into more decorative styles.
Intermediate nail art techniques
Once you’re feeling more comfortable, these techniques will level up your nail game and leave your clients awestruck.
4. Marbling
This swirled design creates a dreamy effect by blending colors together. The easiest way? Add drops of polish to a bowl of water, swirl them around, and dip the nail right into the design. It’s a little messy but oh-so-worth it.
5. Ombre
Create a gradient design that transitions seamlessly from one color to another. All you need is a makeup sponge and some patience! Ombre nails are incredibly trendy and impressive, especially when paired with bold color combos.
6. Striping
Using nail striping tape, you can create clean lines and geometric patterns. Pair this with contrasting colors like black and gold for an edgy, modern effect.
Advanced nail art techniques
These techniques require practice but result in show-stopping designs your clients will absolutely rave about.
7. 3D nail art
Think raised florals, gems, and sculpted designs. With acrylic or gel, you can create intricate, raised embellishments that add texture and dimension. Feeling limited by a flat canvas? This is your ultimate playground.
8. Micro painting
Precision is your best friend in micro painting. Armed with ultra-thin brushes, you can paint miniature scenes, logos, or intricate details worthy of close-up shots. It’s a skill that takes patience and a steady hand, but the results are unforgettable.
9. Foil applications
This involves applying metallic or holographic foils onto nails for a dramatic, reflective finish. Paint glue or gel as the base, apply the foil, and seal it with a topcoat for nails with serious shine.
10. Freehand designs
It doesn’t get more creative than this. Freehand designs might be anything from abstract swirls to cartoon characters. This is where your artistic flair truly shines.
What Tools Do You Need to Do Nail Art?
To create these knockout designs, you’ll need a well-stocked toolkit. High-quality tools and supplies can make all the difference in bringing your ideas to life. Here are the essentials:
1. Nail art brushes
Brushes are basically the magic wands of the nail world. Thin liner brushes help you draw crisp, delicate lines and outlines, while ultra-fine detail brushes are perfect for painting tiny flowers, intricate lace, or any mini masterpiece you can imagine. Flat and fan brushes excel at sweeping on base color or helping you create gorgeous ombre fades.
Clean-up brushes, generally angled, erase those accidental polish slips near the cuticle for a super clean finish. When cared for properly (yup, that means regular cleaning!), your brushes can give you years of smooth, consistent results.
2. Dotting tools
Dotting tools are humble heroes that do so much more than dots. Yes, you’ll use them for perfect polka dots, but they also help you create juicy cherry blossoms, multi-size animal prints, crisp smiley faces, and more. Dual-ended or multi-tip sets allow you to vary spot sizes for added dimension.
Pro tip: If you’re just getting started, the end of a bobby pin or a toothpick can fill in until you invest in a full set.
3. Sponges
Sponges are essential for gradient or ombre effects, a top-request service for good reason. They make blending two or more colors look seamless (hello, sunset nails!). Makeup wedge sponges work well, or you can snip art sponges into smaller pieces for full creative control.
Sponges are also super helpful for achieving a soft-focus, watercolor look or dabbing on glitter without getting it everywhere.
4. Nail art tape
This ultra-thin, sticky tape lets you instantly upgrade nails with geometric shapes, modern negative-space looks, ultra-crisp French tips, and more.
Lay it on before the polish for easy striping, use it to section off patterns, or leave it on as an accent itself. As a bonus, remember that metallic and colored tapes add extra glam without extra work!
5. UV/LED lamp
For gels, builder gels, or securing 3D charms, a good UV/LED lamp is a non-negotiable. It hardens (cures) special nail products fast, so you can layer without worrying about smudges or dents.
Look for lamps with multiple timer settings and enough space for a whole hand. A quality lamp saves you time, prevents chips, and boosts your professional image.
[CTA_MODULE]
Tips To Master Your Nail Art Game Effortlessly
Even the most talented nail techs understand that improvement never stops. These nail art tips will help you polish your skills (pun intended) and set you apart as a go-to artist in your area.
1. Experiment often
The more you play around, the more confident you’ll become. Try new color combos, funky patterns, or mix-and-match techniques to develop your unique style. Carve out time each week for creative play. You may want to set up a practice board or use press-on tips to experiment without the pressure of client appointments.
Don’t be afraid to step out of your comfort zone; some of the most iconic nail looks are born from happy accidents!
2. Invest in quality
Cheap tools and products can make nail art harder than it needs to be. Save yourself the trouble and invest in items that deliver precision and long-lasting finishes. High-quality brushes will give you smoother lines, and professional-grade polish or gel will ensure your designs last and shine.
Consider buying one or two new premium products a month, gradually upgrading your kit until it’s filled with tried-and-true favorites.
3. Learn from the pros
Follow nail artists on social media, attend workshops, and watch tutorials to stay inspired. You’d be surprised what a single design idea can spark in your own creativity. Join online forums or local groups where you can swap ideas, ask questions, or even share challenges.
Many nail businesses are willing to share their insights, so don’t hesitate to reach out for advice or feedback.
4. Keep an eye on trends
Nail art trends shift faster than you might expect. Staying ahead of what’s hot will keep you relevant and your clients excited. Think seasonally, explore popular color palettes, and experiment with different nail techniques.
Use platforms like Instagram, Pinterest, and TikTok for daily inspiration and trend alerts. Ask your clients what they’re seeing and loving. After all, sometimes, your next big idea comes straight from the salon chair!
Finally, remember that perfecting your nail art is a journey, not a sprint. Celebrate your progress and don’t get discouraged by mistakes. They’re stepping stones to mastery. The more curious and committed you are, the more your skills (and business) will flourish.
Grow Your Nail Salon With GlossGenius
Mastering nail art techniques is just the beginning. Whether you’re fresh out of beauty school or already running your own hustle, you need tools to manage the business side of things just as beautifully. That’s where GlossGenius comes in.
GlossGenius is an all-in-one platform tailored for business owners like you. It simplifies your business operations so you can breeze through appointment bookings, build a custom website, manage payments, and market your services, all from the palm of your hand.
Bonus? You’ll wow your clients not just with your nail art but also with a smooth, professional experience from start to finish.
Your next step? Level up your nail art game and give yourself the tools to run a killer business. Test out GlossGenius with a free trial today—you’ve got everything to gain and nothing to lose.
Now it’s time to grab your brushes, switch on your UV lamp, and start creating moments your clients will never forget.
[CTA_MODULE]
FAQs
What are the basic techniques used in nail art?
Basic nail art techniques include solid color application, dotting, striping, accent nails, and simple freehand designs. These foundational skills let you create clean and attractive looks that serve as a starting point for more advanced designs.
What are the 5 basic nail designs?
The five basic nail designs are solid color, French tips, polka dots, stripes, and accent nails (where one or two nails are decorated differently than the rest).
What is the new nail technique?
One of the newest and different nail techniques gaining popularity is 3D nail art, where acrylics or builder gels are used to sculpt raised designs, gems, or textures on the nail for added dimension and artistry.
What is the 3D nail art technique?
3D nail art involves applying acrylics, gels, or embellishments to the nail surface to create designs that stand out. This includes sculpted flowers, gems, and shapes that add texture and drama beyond what’s possible with flat polish.
Download Now
Join Our Genius Newsletter
Get the latest articles, inspiring how-to’s, and educational workbooks delivered to your inbox.
.webp)


